
In today’s increasingly complex software ecosystem, security vulnerabilities pose a significant risk to organizations and their users. The growing dependency on open-source components and third-party libraries has expanded the attack surface for potential security breaches. According to recent industry reports, over 85% of modern applications contain open-source components, many with unpatched vulnerabilities. This reality demands robust security scanning solutions integrated directly into the continuous integration and continuous delivery (CI/CD) pipeline.
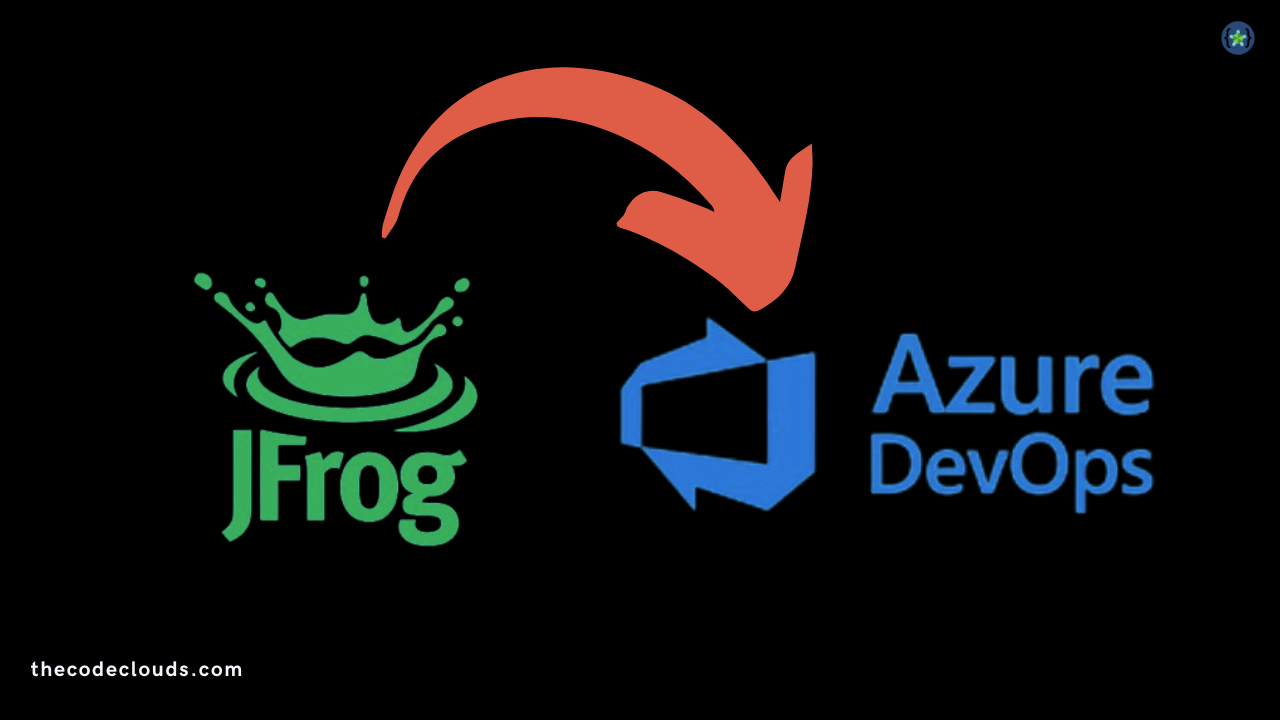
JFrog Xray is a universal security scanning solution that works seamlessly with JFrog Artifactory to provide comprehensive vulnerability detection across your software artifacts. When integrated with Azure Pipelines, it creates a powerful security framework that helps identify and remediate vulnerabilities early in the development lifecycle, significantly reducing security risks before applications reach production environments.
This guide provides a detailed walkthrough of integrating JFrog Xray scanning into Azure Pipelines, covering everything from initial setup to advanced configurations and best practices.
Understanding JFrog Xray
What is JFrog Xray?
JFrog Xray is an advanced security and compliance solution designed to scan binaries for vulnerabilities and license compliance issues. It offers deep recursive scanning of your artifacts to identify security threats at all levels of your application stack. Some key features include:
- Recursive Scanning: Examines dependencies within dependencies to identify vulnerabilities at all levels
- Impact Analysis: Provides detailed information about how vulnerabilities might affect your application
- Policy Management: Allows you to define security and license compliance policies
- Automated Remediation: Offers suggestions for fixing identified vulnerabilities
- Integration Capabilities: Works with popular CI/CD tools, including Azure DevOps
How Xray Differs from Other Security Scanning Tools
Unlike many other security scanning tools that focus solely on known Common Vulnerabilities and Exposures (CVEs), Xray provides comprehensive scanning that includes:
- Component metadata analysis
- Binary scanning for malicious code
- License compliance checking
- Custom security rule enforcement
- Supply chain security verification
This multi-faceted approach makes Xray particularly valuable in modern DevSecOps environments where security needs to be addressed from multiple angles.
Prerequisites for Integration
Before integrating JFrog Xray with Azure Pipelines, ensure you have the following prerequisites in place:
- Active JFrog Platform Instance: You need access to a JFrog Platform installation that includes both Artifactory and Xray. This can be cloud-hosted (JFrog Cloud) or self-hosted.
- JFrog Xray Configuration: Xray should be properly configured with:
- Security policies defined
- Watch policies set up to monitor your repositories
- Appropriate indexing configuration
- Azure DevOps Environment: An active Azure DevOps organization with Azure Pipelines configured.
- Necessary Permissions:
- Admin access to your JFrog Platform instance
- Contributor or administrator permissions in Azure DevOps
- Service connection creation privileges in Azure DevOps
- Integration Tools:
- JFrog CLI installed or accessible through the pipeline
- Azure Pipelines extension for JFrog (optional but recommended)
Setting Up the JFrog Platform Integration
Creating a Dedicated API Key
For secure integration between Azure Pipelines and JFrog Xray, you’ll need to create a dedicated API key:
- Log in to your JFrog Platform UI
- Navigate to Administration → User Management → Access Tokens
- Create a new Access Token with these permissions:
- Read/Write permissions for Artifactory
- Read permissions for Xray
- Save the generated API key securely as it will be used in your Azure DevOps service connection
Configuring JFrog Xray Policies
Effective scanning requires properly configured policies in Xray:
- Navigate to the “Security & Compliance” section in your JFrog Platform UI
- Create or modify security policies with appropriate severity thresholds
- Configure watch policies that monitor your key repositories
- Set up violation notifications if desired
A basic security policy might look like this:
- Block on: Critical and high severity security issues
- Warn on: Medium severity security issues
- Allow: Low severity issues (with notification)
Creating an Azure DevOps Service Connection
To connect Azure Pipelines with your JFrog Platform:
- In Azure DevOps, go to Project Settings → Service connections
- Click “New service connection” and select “JFrog”
- Fill in the following details:
- Connection name: “JFrog-Platform” (or your preferred name)
- JFrog Platform URL: Your instance URL (e.g., https://your-instance.jfrog.io)
- Authentication method: Select “Access Token”
- Access Token: Paste the API key generated earlier
- Test the connection and save

Basic Integration: Adding Xray Scanning to Azure Pipelines
Installing the JFrog Extension for Azure DevOps
The simplest approach to integration uses the official JFrog extension:
- Visit the Azure DevOps Marketplace
- Install the “JFrog” extension to your Azure DevOps organization
- After installation, the extension adds several JFrog-specific tasks to your pipeline toolkit
Creating a Basic Scan Pipeline
Here’s a simple YAML pipeline that incorporates Xray scanning:
trigger:
- main

pool:
  vmImage: 'ubuntu-latest'

steps:
- task: JFrogGenericArtifactoryPublish@1
  inputs:
    artifactoryService: 'JFrog-Platform'
    specSource: 'taskConfiguration'
    fileSpec: |
      {
        "files": [
          {
            "pattern": "$(Build.ArtifactStagingDirectory)/*.zip",
            "target": "your-repo-name/"
          }
        ]
      }
    failNoOp: true

- task: JFrogXrayScan@1
  inputs:
    artifactoryService: 'JFrog-Platform'
    buildName: '$(Build.DefinitionName)'
    buildNumber: '$(Build.BuildNumber)'
    allowFailBuild: false
    scanProjectPublicBuilds: false
This pipeline performs two main steps:
- Publishes build artifacts to your Artifactory repository
- Scans those artifacts using Xray to identify security vulnerabilities
Understanding Pipeline Results
After running this pipeline, you’ll see the Xray scan results directly in your Azure DevOps interface:
- Navigate to the pipeline run
- Check the “JFrogXrayScan” task for detailed results
- Review identified vulnerabilities categorized by severity
- Access links to more detailed information in the JFrog Platform UI
Advanced Integration: Customizing Xray Scans
Using JFrog CLI for Advanced Scanning
For more granular control over scanning, you can use the JFrog CLI directly:
trigger:
- main

pool:
  vmImage: 'ubuntu-latest'

steps:
- script: |
    curl -fL https://getcli.jfrog.io | sh
    ./jfrog config add --url $(JFROG_URL) --user $(JFROG_USER) --access-token $(JFROG_ACCESS_TOKEN) --interactive=false artifactory-service
  displayName: 'Install and configure JFrog CLI'
  env:
    JFROG_URL: $(jfrogPlatformUrl)
    JFROG_ACCESS_TOKEN: $(jfrogAccessToken)

- script: |
    ./jfrog rt build-scan --server-id=artifactory-service --fail=false
  displayName: 'Run Xray scan'

- script: |
    ./jfrog rt build-publish --server-id=artifactory-service $(Build.DefinitionName) $(Build.BuildNumber)
  displayName: 'Publish build info'
This approach gives you more flexibility in terms of scan configuration and reporting.
Implementing Policy-Based Pipeline Actions
You can configure your pipeline to take specific actions based on scan results:
steps:
- task: JFrogXrayScan@1
  inputs:
    artifactoryService: 'JFrog-Platform'
    buildName: '$(Build.DefinitionName)'
    buildNumber: '$(Build.BuildNumber)'
    failBuildOnScan: true
    vulnerabilityThreshold: 'high'
With this configuration, the pipeline will fail if Xray detects any high-severity vulnerabilities, preventing insecure code from progressing to the next stage.
Creating Custom Reports
You can generate custom scan reports for documentation and compliance purposes:
steps:
- task: JFrogXrayScan@1
  inputs:
    artifactoryService: 'JFrog-Platform'
    buildName: '$(Build.DefinitionName)'
    buildNumber: '$(Build.BuildNumber)'
    vulnerabilityThreshold: 'medium'

- script: |
    ./jfrog xr curl -XGET "/api/v1/builds/$(Build.DefinitionName)/$(Build.BuildNumber)/xray" -o xray-report.json
    node ./scripts/format-xray-report.js
  displayName: 'Generate custom Xray report'
You would need to create a custom script (format-xray-report.js) to transform the JSON report into your desired format (HTML, PDF, etc.).
Implementing Shift-Left Security with JFrog Xray
Pre-Build Dependency Scanning
To catch vulnerabilities before the build process even starts:
steps:
- script: |
    npm install
  displayName: 'Install dependencies'

- task: JFrogCliDependencyScan@1
  inputs:
    command: 'scan'
    scanType: 'vulnerability'
    fileSpec: |
      {
        "files": [
          {
            "pattern": "./package.json",
            "target": "scan-results/"
          }
        ]
      }
    failOnScan: true
    allowedVulnerabilities: 'medium'
  displayName: 'Scan dependencies'
This approach scans your package manifest files directly, identifying vulnerabilities before they’re even downloaded.
Implementing IDE Integration
Complement your Azure Pipeline scanning with direct IDE integration:
- Install the JFrog IDE plugins (available for VS Code, IntelliJ, Eclipse)
- Configure the plugin to connect to your JFrog Platform instance
- Developers will see vulnerability warnings directly in their code editor
While this isn’t part of the Azure Pipeline itself, it creates a comprehensive security approach that starts at the earliest stages of development.
Real-time Vulnerability Monitoring
Setting Up Continuous Monitoring
Beyond just scanning during builds, configure Xray for continuous monitoring:
- In the JFrog Platform UI, navigate to “Security & Compliance” → “Watches”
- Create a new watch that monitors all your repositories
- Configure email notifications for new vulnerabilities
- Set up webhook integrations to alert your team in real-time
Integrating with Microsoft Teams or Slack
For immediate team notification of security issues:
steps:
- task: JFrogXrayScan@1
  inputs:
    artifactoryService: 'JFrog-Platform'
    buildName: '$(Build.DefinitionName)'
    buildNumber: '$(Build.BuildNumber)'

- script: |
    VULNERABILITIES=$(./jfrog xr curl -XGET "/api/v1/builds/$(Build.DefinitionName)/$(Build.BuildNumber)/xray" | jq '.data.summary.total_alerts')
    if [ $VULNERABILITIES -gt 0 ]; then
      curl -H "Content-Type: application/json" -d '{"text":"Security alert: '"$VULNERABILITIES"' vulnerabilities found in build $(Build.BuildNumber)"}' $(TEAMS_WEBHOOK_URL)
    fi
  displayName: 'Send Teams notification for vulnerabilities'
  env:
    TEAMS_WEBHOOK_URL: $(teamsWebhookUrl)
This script checks the scan results and posts an alert to Microsoft Teams if any vulnerabilities are found.
Implementing Automated Remediation
Auto-Creating Work Items for Security Issues
To streamline remediation, you can automatically create Azure DevOps work items for identified vulnerabilities:
steps:
- task: JFrogXrayScan@1
  inputs:
    artifactoryService: 'JFrog-Platform'
    buildName: '$(Build.DefinitionName)'
    buildNumber: '$(Build.BuildNumber)'

- script: |
    SCAN_RESULTS=$(./jfrog xr curl -XGET "/api/v1/builds/$(Build.DefinitionName)/$(Build.BuildNumber)/xray")
    python ./scripts/create-work-items.py "$SCAN_RESULTS"
  displayName: 'Create work items for vulnerabilities'
You would need to create a custom Python script (create-work-items.py) that parses the scan results and uses the Azure DevOps REST API to create appropriate work items.
Implementing Automatic Dependency Updates
For direct remediation of vulnerable dependencies:
steps:
- task: JFrogXrayScan@1
  inputs:
    artifactoryService: 'JFrog-Platform'
    buildName: '$(Build.DefinitionName)'
    buildNumber: '$(Build.BuildNumber)'

- script: |
    SCAN_RESULTS=$(./jfrog xr curl -XGET "/api/v1/builds/$(Build.DefinitionName)/$(Build.BuildNumber)/xray")
    node ./scripts/update-dependencies.js "$SCAN_RESULTS"
    git config --global user.email "azurepipeline@example.com"
    git config --global user.name "Azure Pipeline"
    git checkout -b security-updates-$(Build.BuildNumber)
    git add package.json package-lock.json
    git commit -m "Auto-update dependencies to fix security vulnerabilities"
    git push origin security-updates-$(Build.BuildNumber)
  displayName: 'Auto-update vulnerable dependencies'
This script creates a new branch with updated dependencies and can be extended to automatically create a pull request.
Building a Comprehensive Security Dashboard
Aggregating Scan Results
To maintain an overview of your security posture across projects:
steps:
- task: JFrogXrayScan@1
  inputs:
    artifactoryService: 'JFrog-Platform'
    buildName: '$(Build.DefinitionName)'
    buildNumber: '$(Build.BuildNumber)'

- script: |
    SCAN_RESULTS=$(./jfrog xr curl -XGET "/api/v1/builds/$(Build.DefinitionName)/$(Build.BuildNumber)/xray")
    echo '##vso[task.setvariable variable=criticalVulnerabilities;isOutput=true]'$(echo $SCAN_RESULTS | jq '.data.summary.critical')
    echo '##vso[task.setvariable variable=highVulnerabilities;isOutput=true]'$(echo $SCAN_RESULTS | jq '.data.summary.high')
    echo '##vso[task.setvariable variable=mediumVulnerabilities;isOutput=true]'$(echo $SCAN_RESULTS | jq '.data.summary.medium')
  name: scanMetrics
  displayName: 'Extract scan metrics'

- task: PublishBuildArtifacts@1
  inputs:
    pathToPublish: '$(System.DefaultWorkingDirectory)/security-report.json'
    artifactName: 'SecurityScanResults'
These metrics can be aggregated across pipelines to create a comprehensive security dashboard.
Using Azure DevOps Dashboards for Visualization
- Create a custom Azure DevOps dashboard
- Add widgets that display security metrics from your pipelines
- Configure trend charts to show vulnerability trends over time
- Set up status indicators for quick visualization of security health
Best Practices for JFrog Xray in Azure Pipelines
Optimizing Scan Performance
To maintain efficient pipelines:
- Use Incremental Scanning: Only scan new or changed artifacts
- Set Appropriate Thresholds: Configure scans based on the criticality of the component
- Utilize Caching: Cache dependencies to reduce scan times
- Parallel Execution: Configure parallel scanning for large repositories
Security Policy Management
For effective security governance:
- Define Clear Policies: Create well-defined security policies based on application risk
- Regular Policy Reviews: Schedule quarterly reviews of security policies
- Policy Templates: Create reusable policy templates for different application types
- Exception Management: Implement a formal process for security exceptions
Compliance and Reporting
For audit readiness:
- Automated Reports: Generate and archive security reports with each build
- Trend Analysis: Track vulnerability metrics over time
- Compliance Validation: Map security scans to compliance requirements
- Evidence Collection: Maintain evidence of security testing for audits
Troubleshooting Common Issues
Failed Connections to JFrog Platform
If your pipeline can’t connect to the JFrog Platform:
- Verify service connection credentials
- Check network connectivity from the build agent
- Ensure appropriate permissions for the API key
- Verify JFrog Platform service availability
Scan Timeout Issues
For scans that time out:
- Increase the timeout settings in your pipeline configuration
- Break down large scans into smaller components
- Optimize your artifacts to reduce scan complexity
- Check for resource constraints on your JFrog Platform
False Positive Management
To handle false positives effectively:
- Document confirmed false positives
- Create exclusions in your Xray policies for known false positives
- Implement regular reviews of exclusion lists
- Consider contributing fixes to vulnerability databases when appropriate
Conclusion
Integrating JFrog Xray security scanning into Azure Pipelines creates a powerful security framework that helps protect your software supply chain from vulnerable components. By implementing the techniques outlined in this guide, you can build a robust security scanning solution that identifies vulnerabilities early, automates remediation, and maintains comprehensive security visibility across your projects.
Remember that security is not a one-time implementation but an ongoing process. Regular review and refinement of your scanning policies, combined with team education about security best practices, will help maintain a strong security posture for your applications.
As you continue to evolve your DevSecOps practices, consider exploring additional security layers such as SAST, DAST, and container security scanning to build a comprehensive application security program that addresses security at all stages of your development lifecycle.


4 thoughts on “Integrating JFrog Xray Security Scanning in Azure Pipelines”